
NOAA Teacher at Sea
Kristin Joivell
Onboard NOAA Ship Fairweather
June 15 – July 1, 2009
Mission: Hydrographic Survey
Geographical area of cruise: Shumagin Islands, Alaska
Date: June 17, 2009

Weather Data from the Bridge
Position: Big Koniuji Island
Clouds: Light Drizzle
Visibility: 5 miles
Wind: 17 knots
Waves: 2 to 3 feet
Temperature: 8.0 dry bulb
Temperature: 7.1 wet bulb
Barometer: 993.4
Science and Technology Log
Today I had the opportunity to travel to Herendeen Island in one of the launches. The two main tasks that I worked on were placing a new benchmark and taking measurements from a tidal gauge. Benchmarks and tidal gauges are used to help the surveying team vertically reference their survey data to the tidal datum.
The first task to accomplish after landing on the island was placing the new benchmark. Benchmarks can be found in many places. You might even walk near a benchmark everyday and not even be aware of it! The national geocaching website describes a benchmark as “a point whose position is known to a high degree of accuracy and is normally marked in some way.” On this website, you can also search for benchmarks in an area by typing in the zip code where you would like to search. I’ve seen benchmarks in my travels hiking and biking; one was even near an old fire tower. Benchmarks can be very old, but today I helped to place one that was brand new! I think the most exciting part about placing the benchmark was the knowledge that it is a permanent fixture. Years from now, I will be gone, but the benchmark I helped place on Herendeen Island will still be there!

The second task that I worked on today involved some very basic process skills of science: observing, recording, and calculating data. My task was to record the level of the ocean’s water using a tide staff. I watched the water for one minute over six minute intervals for three hours. During that one minute, I recorded the high and low water levels displayed on the tide staff. Then, I calculated the average of those water levels to be used by the surveying team. This important information helps the surveying team reference the measurements from the automatic tide gauge to the benchmarks we installed.
I reached an understanding of the importance of this type of data collection by thinking about a ship traveling through the ocean during high tide and then during low tide. The ship traveling at high tide might read 30 feet deep on their depth gauge, but the same ship traveling at low tide might read 20 feet deep on their depth gauge. If the ship’s hull is close to those depths, it may be in danger of scraping the bottom. Knowing the depth of the water at the lowest of the low tides is important for the safety of the ship traveling through the water.
Even though the tide staff had been placed some time ago, it was still embedded firmly in the rock. However, the seaweed growing on the rocks near the base of the tide staff seemed to be getting in the way of the observations initially. This required some cutting and trimming of the material to improve data accuracy. I think this is a good real world example of reducing the number of variables in an experiment that can’t be overlooked.

Personal Log
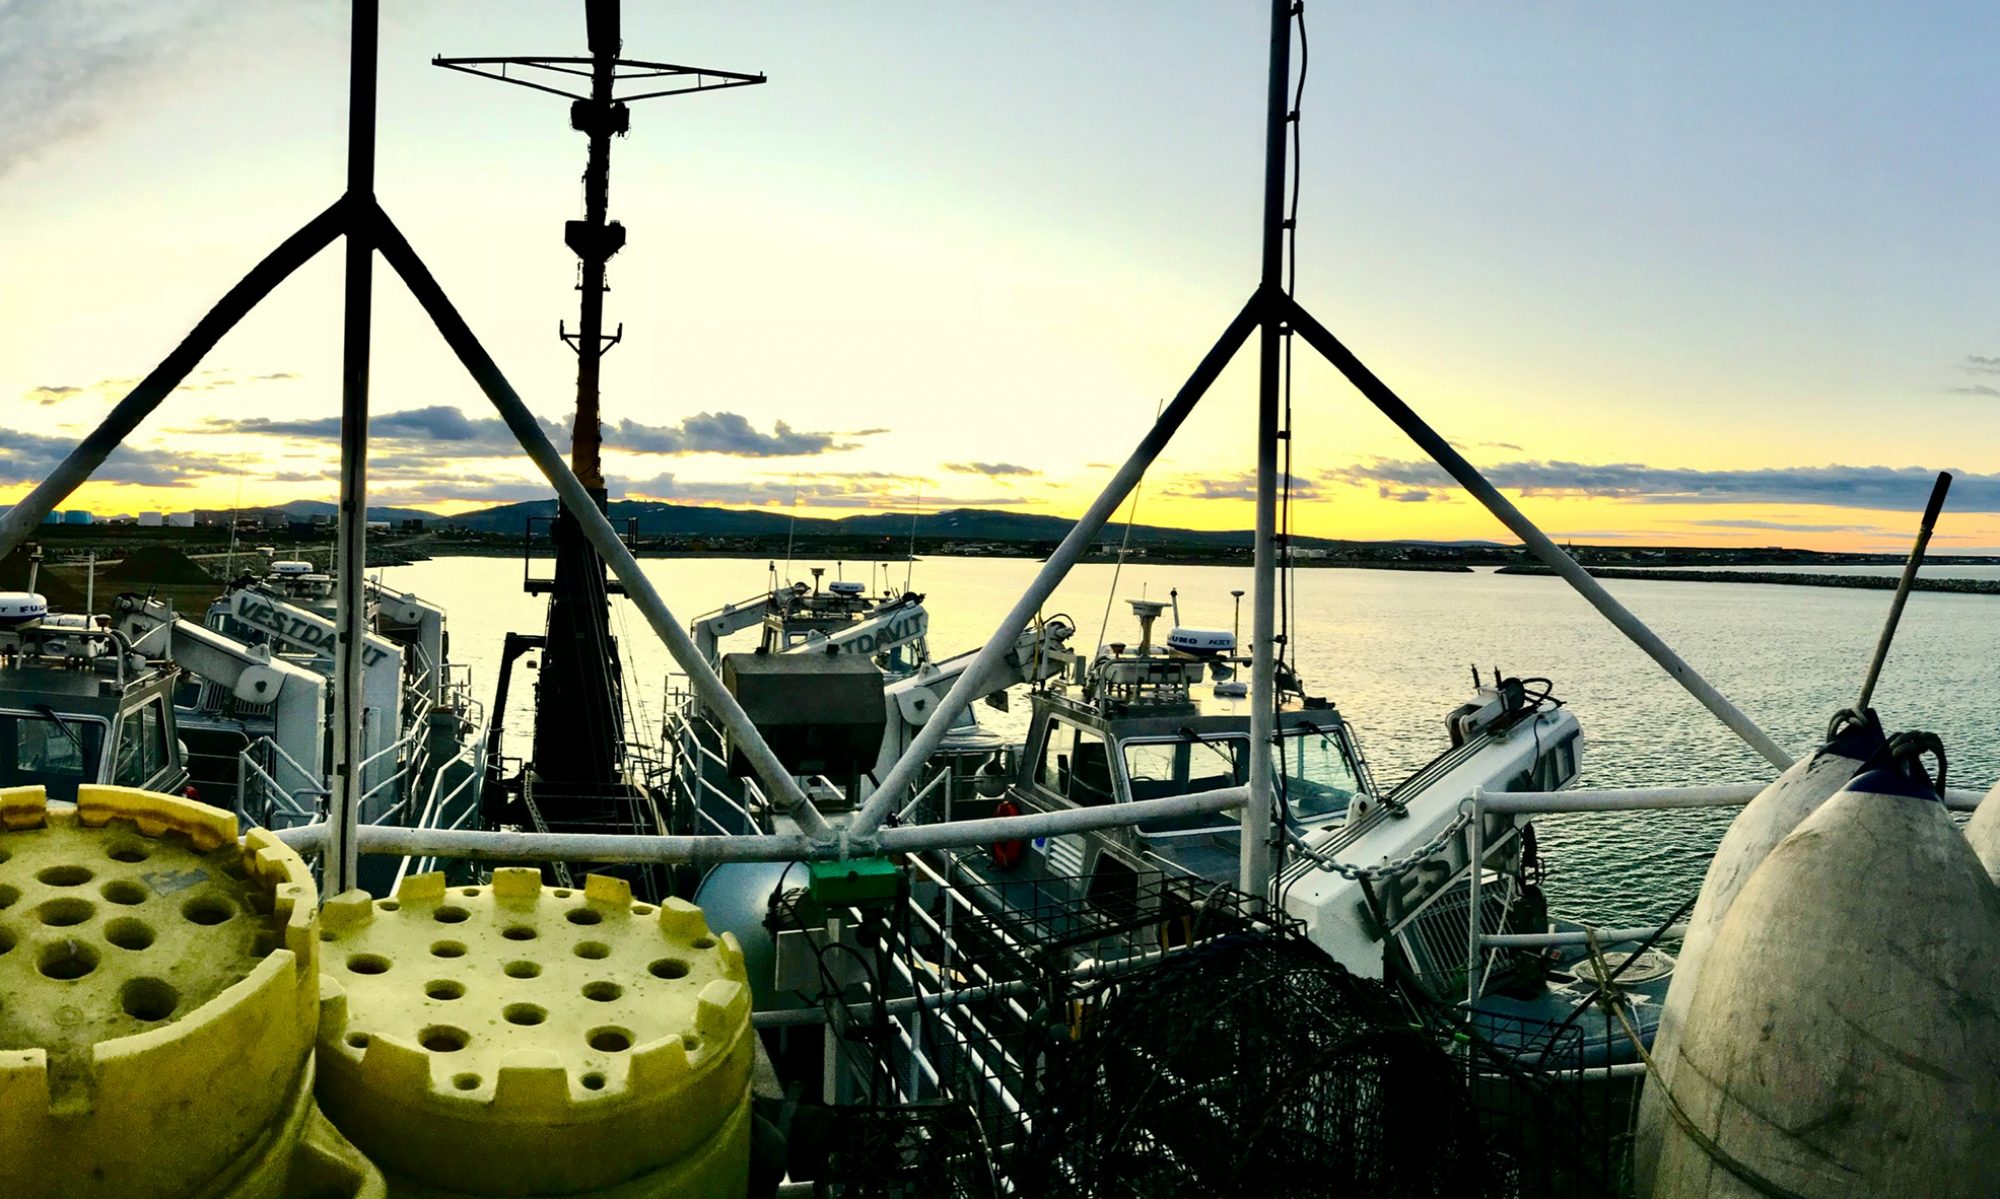
Yesterday, I was part of a shore party in the small port town of Sand Point. The ship needed to stop there for a personnel change and to pick up some mail from the post office. In my past travels, I saw some small fishing villages in Costa Rica, Venezuela, and Mexico, but here is a town in the United States whose existence revolves around fishing. The docks seemed to take up much of the area of the town. There were many boats docked there and the majority of which were fishing boats. I even got to see some boats coming back from the day’s fishing trip and begin to unload their catches. There were also people working on boats, nets, and general items associated with the fishing trade. Some boats looked like they were abandoned, but most looked as if they were used daily. Living and working near the ocean must be an interesting life, especially in such an isolated place as Sand Point, Alaska.
Create Your Own NOAA Experiment at Home
You can collect and record data using the same technique that NOAA scientists use for their tide staff data experiment. Select an area in your backyard on which to make observations. Perhaps a simple selection such as the growth rate of the grass would be appropriate for your first attempt at this experiment. Next, decide on your observation times. It’s a good idea to make your observations at the same time each day so that you can compare results and reduce variables. Finally, you’ll need something to record your data, usually a pen and paper, but you could also take a photograph for data collection. Record your data and try to make inferences and draw conclusions based on the data collected in your experiment.
