Kristin Joivell, June 30, 2009

NOAA Teacher at Sea
Kristin Joivell
Onboard NOAA Ship Fairweather
June 15 – July 1, 2009 

Mission: Hydrographic Survey
Geographical area of cruise: Shumagin Islands, Alaska
Date: June 29-30, 2009

This sea star was brought to the surface in a bottom sample.

Weather Data From the Bridge:   
Position: North of Big Koniuji Island
Clouds: mostly clear
Visibility: 10+ miles
Wind: calm Waves: 0 feet
Temperature: 12.0 dry bulb
Temperature: 10.0 wet bulb
Barometer: 1023.2

Science and Technology Log 

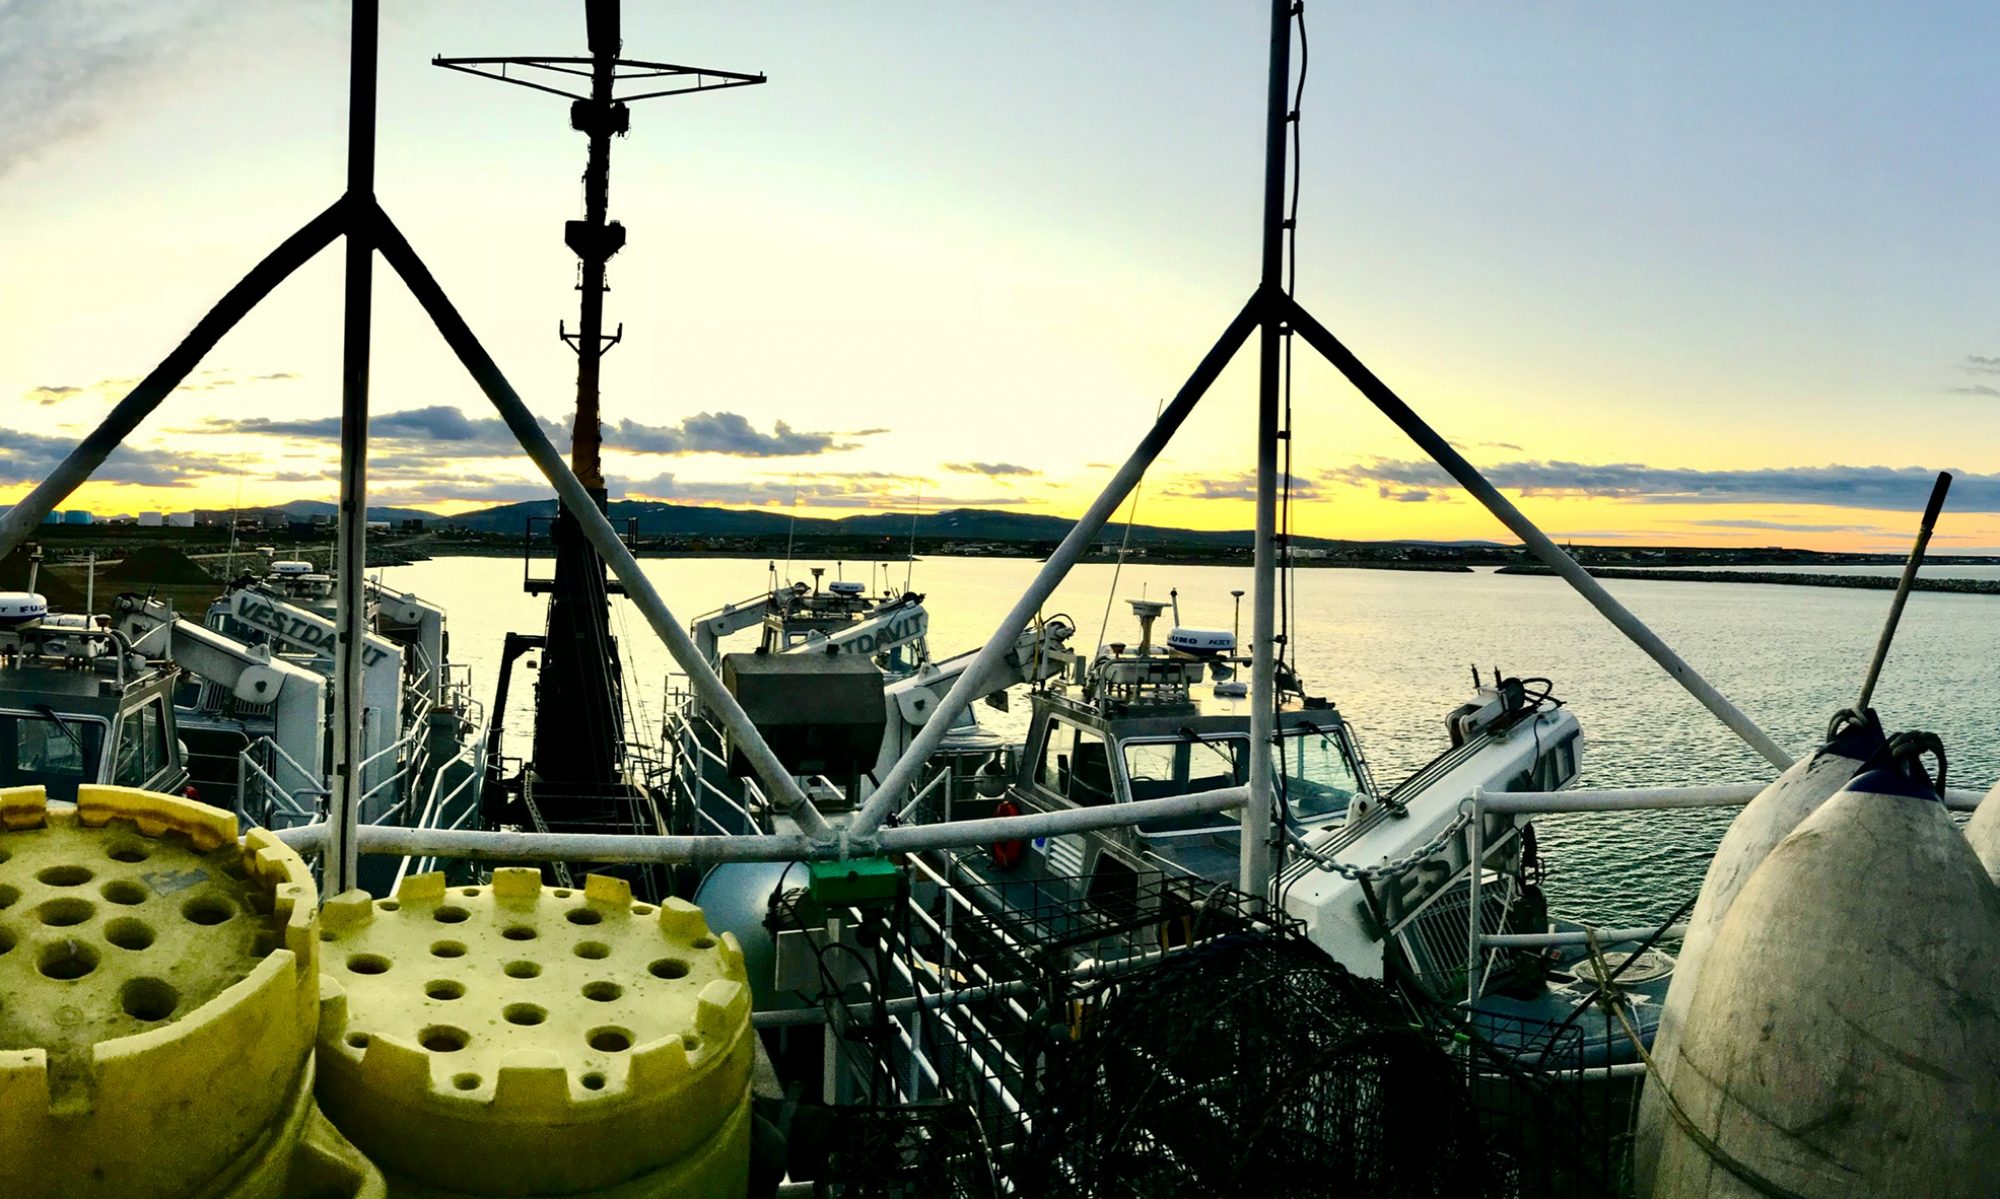
Since the ship is operating in waters that there is not much information about, verifying current charted information is important.  Before launches are sent into a new area to collect data, shoreline verification is an operation that must be completed.  First, existing charts and new pictures of the coastline taken from a plane are used to determine a rough estimate of the shoreline.  Then, the shoreline verification team is sent into the area in a small boat.  The boat’s course is determined based on a buffer zone of the mean high water line on shore so that it can avoid any known, previously charted hazards. The boat travels a set path just outside of this buffer zone while logging information about bottom depths and looking for dangers to navigation.

Taking a compass bearing for a previously uncharted danger to navigation.  The rock found is only visible at low tide which makes it all the more hazardous.
Taking a compass bearing for a previously uncharted danger to navigation. The rock found is only visible at low tide which makes it all the more hazardous.

Sometimes hazards are found that are not charted on existing maps.  So, the team must identify these hazards and log their specific locations. An advanced GPS device is used along with a compass to determine the location of the hazard from the boat. The hazards are logged on a computer to record their positions.  Then, that information is used to both warn the other survey boats from the Fairweather working in the area, and to update new editions of the charts. Sometimes hazards that are currently charted are found in a different location. Once in a while, charted hazards are not even there at all!  All of this new information about hazards is also added to the new editions of charts. It’s somewhat terrifying to think that current charts sometimes have mistakes on them that could affect travelers so negatively. Checking what is on the bottom of the ocean is also important information.  To anchor a ship, some materials are more desirable than others. For example, hard rock is not as desirable as mud or sand because the anchor will just drag along hard rock and not catch as well. So, bottom sampling is another important operation that must be completed so that ships can anchor safely and properly.

Retrieving the bottom sampler.  It’s interesting to open it up and see what’s inside.  Depending on material found, ships can determine more desirable and less desirable anchoring locations.
Retrieving the bottom sampler. It’s interesting to open it up and see what’s inside. Depending on material found, ships can determine more desirable and less desirable anchoring locations.

To take a bottom sample, a scoop is deployed from a small boat or the ship.  The scoop has an automatic trigger that closes it when it hits the bottom of the ocean.  Then, you pull the bottom sampling device back up to the boat or ship and open the scoop. Observations about gathered materials are made on the computer.  There are all kinds of designations to specify the nature of the materials gathered.  Many of the samples we gathered were fine sand, but some included medium gravel, soft coral, and broken shells.  A few samples even included sea stars and a sponge!

The most difficult part about bottom sampling is that you have to pull the line up from the ocean floor with the bottom sampler attached.  The bottom sampler is a heavy, metal object so, pulling up all the line and the sampler from over 100 feet below gives you a workout.  Rotating positions on the boat helped especially since there were four of us on board.  That way, everyone’s arms had a chance to rest through three turns until it was your next turn to haul up the line and bottom sampler. I liked bottom sampling a lot because it was a surprise every time the sample was brought back up the boat. Also, it gave me a chance to look at some of the creatures that live in the ocean in Alaska. Seeing the sea stars and the sponge were the highlights of the day.

Personal Log 

This is a small halibut caught by one of the crew. It was quite small, but they can grow to be over 400 pounds.

Free time is a priceless commodity on the ship.  Everyone works to complete many tasks each day. Sometimes unexpected events occur that interfere with regular schedules. The Plan of the Day even has a disclaimer on it that states: “Tasks are subject to change at any time.  And they will.” So, when a person has free time and isn’t catching up on sleep, choosing an activity is difficult. Movies are shown each night and the computers are internet capable, but sometimes it’s good to get out on deck or off the ship instead of sitting in a room on board.

One of the things you can do on the ship in your free time is go fishing. You need an Alaska fishing license to do this, so I like to watch the licensed fishermen on board and examine their fish before they are released back into the ocean.  It’s interesting to see how many different kinds of fish are caught on the ship. In just the past few days, people have caught halibut, flounder, and cod.  Someone even recently caught a red octopus eating a baby crab!  Unfortunately, I missed that catch by about 10 minutes.  Comparing the freshwater fish that I know to these saltwater fish is a great free time activity.

Panning for gold on Herendeen Island.  The mica in the water is deceptively similar to gold flake.
Panning for gold on Herendeen Island. The mica in the water is deceptively similar to gold flake.

Another free time activity that is popular is going ashore to hike and explore. We sometimes even have the opportunity to build a fire on the shoreline. There is a lot of driftwood available, but the lack of garbage on the beaches never stops surprising me.  There are none of the common waste materials that you find commonly on the beaches in the Northeastern United States. However, there are some plastic materials like bottles and bags.  One plastic bottle found even had Korean fishermen use plastic fishing floats, but the glass ones are much older and looked for to use for decorations. The crew suggested that I look for them, but I didn’t find any at all.

Panning for gold is also something that can be done while ashore.  I assisted a fellow crew member on the quest for gold, but we were unsuccessful.  The rocks in the area have mica in them, so the streams are full of glittery chips.  These looked to me like gold, and I thought we had struck it rich, but I was wrong.  Standing in the cold stream and searching for gold nuggets is something that I will definitely remember for a long time.

Create Your Own NOAA Experiment at Home 

You can explore the types of water organisms in your area like a NOAA crew member.  If you are planning on fishing, make sure you have the correct fishing license for your area.  Rivers are great places to start because you don’t need a boat to fish on them; you can just fish from the riverbank. Also, if you don’t want to fish, you can examine the macroinvertebrates that live under rocks. In the rivers and streams in Central Pennsylvania where I’m from, you can find mayfly and stonefly nymphs, caddisfly larvae, and water pennies in abundance.  The Pennsylvania Fish Commission has lots of great materials available to help with identification of organisms.  Looking at water from lakes, rivers, streams, and ponds under a microscope is also an interesting experience. You can learn a lot about the health of your area’s watershed by examining the organisms in the water.

Kristin Joivell, June 16, 2009

NOAA Teacher at Sea
Kristin Joivell
Onboard NOAA Ship Fairweather
June 15 – July 1, 2009 

Left is my bunk card.  Notice the precise location or “muster” for each emergency.
Left is my bunk card. Notice the precise location or “muster” for each emergency.

Mission: Hydrographic Survey
Geographical area of cruise: Shumagin Islands, Alaska
Date: June 15-16, 2009

Weather Data from the Bridge   
Position: Woody Island Channel
Clouds: Partly Cloudy
Visibility: 10 miles
Wind: light
Waves: less than 1 foot
Temperature: 15.8 dry bulb
Temperature: 12.9 wet bulb
Barometer: 1012.6

Science and Technology Log 

From a teacher’s standpoint, the best thing about being on a ship is seeing the real world applications for all of the basic science process skills that I teach.  Skills like making accurate observations, collecting data precisely, and communicating clearly are second nature in a career with NOAA.

The Fairweather appears out of the fog.

One of the things that impressed upon me as we left the port at Kodiak and began the journey to the Shumagin Islands was the need for each person on board to know just what to do at the necessary time.  The need to be in the “right place” at the “right time” is shown again and again.  For example, each person has a bunk card that describes where to be when different types of alarms sound.  When one of the three alarms sounds, each person on the ship has a specific job and place to report. Whether it is an abandon ship, man overboard, or fire alarm, each person must be in their place to be accounted for and to do their job to help regain control of the situation. For someone still learning where all of the decks are located, this was a small challenge!

Here I am reading the temperature for the Weather Log.  There are two thermometers:  wet bulb and dry bulb.  The readings on both of these thermometers are read to help determine weather patterns, specifically relative humidity.
Here I am reading the temperature for the Weather Log. There are two thermometers: wet bulb and dry bulb. The readings on both of these thermometers are read to help determine weather patterns, specifically relative humidity.

Another point that stood out to me was the importance of accurate observations.  I often try to impress upon my students the importance of making observations in a precise scientific manner, but here on the ship I noticed real world applications of this skill in action especially on the bridge. Everywhere on the ship, but especially on the bridge, accuracy of observations is a must.  Weather is checked every hour. This weather is periodically sent into a weather service.  Accurate observations are necessary so that weather can be predicated and charted and the necessary changes can be made in plans for missions and travel.

Also, the ship’s course is charted on a map.  Although computers are used for much of the navigation, the location on a paper map is charted as well. In fact, the whole goal of the mission is to attain more accurate charts of the ocean floor.  The NOAA film, ‘The Surveyors,’ discusses the historical roots of hydrographic surveying.  The film promotes the idea that NOAA was formed since so many ships were being lost at sea.  As I watched the film, I realized the just how NOAA is an essential part of the battle against lost ships.  After beginning my surveying training on the computer, I found out that 95% of all US foreign trade enters or leaves by ship. To make the job even more complicated, surveying the ocean floor is an ongoing task since changes occur in the ocean floor constantly. Thinking about this made me look forward to the surveying work in the Shumagins even more since the data collected by NOAA could save someone’s life.

Personal Log 

Here I locate the Fairweather’s position on a map.  The location of the ship is determined using triangulation and simple geometry.
Here I locate the Fairweather’s position on a map. The location of the ship is determined using triangulation and simple geometry.

Yesterday, while still in port at Kodiak, I went on a hike to the top of Barometer Hill.  I think the name “Hill” is misleading since at the summit it is approximately 2500 feet above ground level. As I looked up at the mountain, I was in awe of its height and the purity of the surrounding terrain. Most of the hikes I’ve been on show signs of civilization throughout the hike, from garbage to power lines over the trail, but not here in Alaska!

I was not to be disappointed.  About halfway up to the summit, a brown bear approached our group.  Another hiker and I were nearing the top of a rise.  Upon glancing behind, we noticed a bear peeking out from below the rise we had just climbed. We made some noises and it went down the mountain, leaving tracks in the snow patches.  We were able to watch its progress down the mountain and through the brush at the base…the brush we had just walked through to get to the trail!


Here is Barometer Hill from the base of the mountain.  Note the total absence of human impacts such as billboards, structures, and especially power lines.  Hiking up the mountain there were a few scraps of paper, but not much trash at all compared to my experiences hiking in Pennsylvania.
Here is Barometer Hill from the base of the mountain. Note the total absence of human impacts such as billboards, structures, and especially power lines. Hiking up the mountain there were a few scraps of paper, but not much trash at all compared to my experiences hiking in Pennsylvania.
The brown bear going down Barometer Hill. It covered the distance quite quickly and made it to the base of the mountain in about 10 minutes, much quicker than my hiking speed.  Photo courtesy of David Francksen.
The brown bear going down Barometer Hill. It covered the distance quite quickly and made it to the base of the mountain in about 10 minutes, much quicker than my hiking speed. Photo courtesy of David Francksen.

As we continued hiking to the top, much of the terrain was steep, treacherous, and rocky, but the views at the summit were extraordinary and gave a 360 degree vantage point of the surrounding land and water. Looking around at the surrounding geography, I was able to see just how special Alaska is from a naturalist’s standpoint.

The view from the top of Barometer Hill.  The wilderness keeps extending in the distance.
The view from the top of Barometer Hill. The wilderness keeps extending in the distance.

Create Your Own NOAA Experiment at Home 
You can collect weather data using the same tool used on the bridge of the Fairweather. Create a wet and dry thermometer system by wrapping the bulb of one thermometer in wet paper towels and keeping one thermometer uncovered.  Compare the temperatures over a period of time and make a line graph.  What trends do you see on the graph?  Which temperature tends to be lower? What can you infer from this about the way your body feels when you’re in wet clothes compared to the way your body feels when you’re in dry clothes?

After further investigating the wet bulb and dry bulb temperatures here on the ship, I found that the book National Weather Service Observing Handbook No. 1 printed by NOAA in 2004 gave me a better understanding of how this all fits together scientifically by stating, “The wet bulb thermometer works on the principle that water evaporating from the muslin wicking [paper towel] absorbs heat from the thermometer bulb and mercury.  When the air is dry, containing little moisture, evaporation will be rapid.  If the air is very moist, evaporation from the muslin [paper towel] will be slight.” (p. S-93).  To me this makes sense since evaporation, biologically as precipitation, helps to cool your body.  The graph below provides a more in depth look into the connection between dry bulb temperatures, wet bulb temperatures, and relative humidity.

On this graph, you can see how the relative humidity percentage gets higher as dry and wet bulb temperatures get closer together.  The inverse is true as well; the relative humidity gets lower as dry and wet bulb temperatures get further apart.  Psychrometric chart provided courtesy of Richard Brennan.
On this graph, you can see how the relative humidity percentage gets higher as dry and wet bulb temperatures get closer together. The inverse is true as well; the relative humidity gets lower as dry and wet bulb temperatures get further apart. Psychrometric chart provided courtesy of Richard Brennan.